
How to Grind a Tree Stump: Step-by-Step Guide
That stubborn stump in your yard isn't just an eyesore. It's a tripping hazard, a magnet for termites, and it can send up root sprouts for years if you leave it alone. Grinding a stump down the right way solves all three problems, but it takes the correct equipment, technique, and a clear sense of how deep to go before you're actually done.
This guide walks you through how to grind a tree stump from start to finish, covering the tools you'll need, the safety gear that actually matters, and the grinding depth that keeps roots from resurfacing later. We'll also cover what to do with the leftover mulch and soil once the stump grinding work is finished.
We wrote this guide from real fieldwork, not a manual. As a certified arborist crew working across North Port, Port Charlotte, and Venice, we grind stumps every week and see the same mistakes homeowners make with rented equipment. If your stump sits near a fence, septic line, or a tree you want to keep healthy, or the job just feels bigger than a weekend project, that's exactly when calling in a licensed, insured professional saves you time, money, and a trip to the ER, and it helps to know what stump grinding involves and what it costs in Southwest Florida before you decide.
What to know before grinding a tree stump
Before you rent equipment or call a crew, understand what you're actually up against. Grinding a stump isn't like cutting a log. The machine chews through a mix of wood, dirt, and rock at the base of the tree, and that grit dulls teeth fast and kicks up debris that travels farther than most homeowners expect. A stump grinder built for a 12-inch maple stump won't touch a 36-inch oak stump without stalling out, so matching the machine to the job matters as much as the technique, which is also why a professional stump grinding job includes more than the grinding itself.
Equipment you need
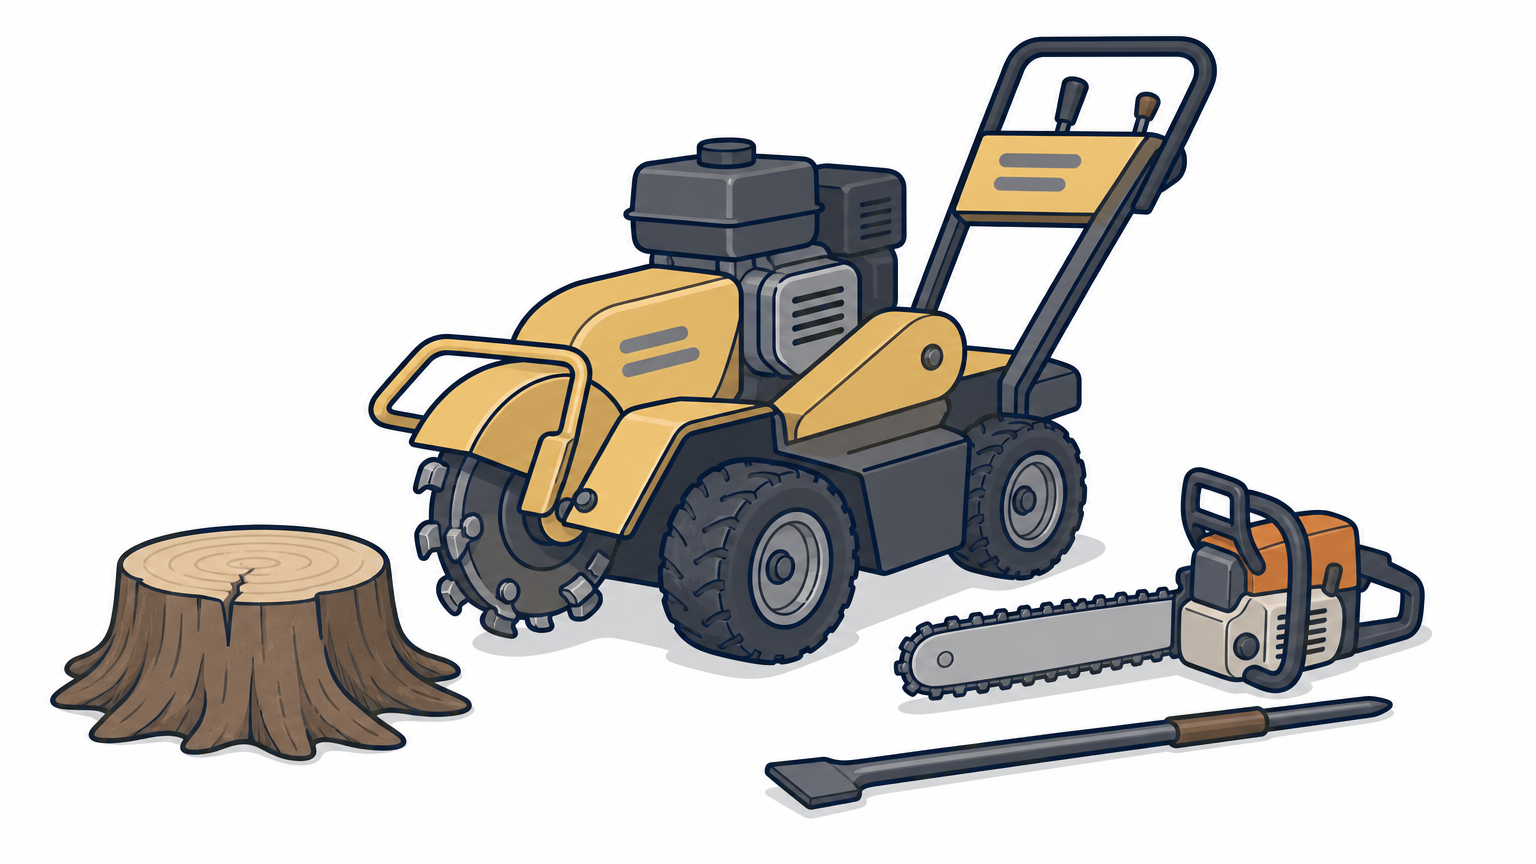
Rental yards usually stock a few grinder sizes, and picking the wrong one wastes a half-day. Here's what most jobs require:
- Stump grinder rated for the stump diameter (mini units under 20 hp for small stumps, tow-behind units for anything over 24 inches)
- Chainsaw to cut the stump down close to grade first
- Digging bar or mattock to expose surface roots
- Rake and shovel for cleanup
- Tarps to catch flying chips near flower beds or pavers
Safety gear that actually matters
Stump grinders throw wood chips, rocks, and dirt at high speed, and the wheel itself can catch a hidden root and kick back hard. Wear these every time:
- ANSI-rated safety glasses or a full face shield
- Hearing protection (grinders run well above 85 decibels)
- Steel-toed boots
- Heavy work gloves
- Long pants and a long-sleeve shirt, no loose fabric
A grinder wheel doesn't care how experienced you are. It only cares what's in its path.
This is the point where a lot of DIY jobs go wrong, not from lack of effort but from underestimating what's spinning at your feet.
Know what's underground before you start
Underground utility lines, septic pipes, and irrigation systems sit closer to the surface than most people assume, sometimes just a few inches down. Call 811 at least a few business days before grinding a tree stump so utility companies can mark buried lines for free, a service required in Florida and most other states. If your property has a septic system, walk the yard and confirm the stump isn't sitting near a drain field before you break ground. Skipping this step is how a simple yard project turns into an expensive repair bill.
Step 1. Prepare the stump and work area
Start by clearing a wide radius around the stump, at least 10 feet in every direction. Stump grinding throws chips and debris fast enough to dent siding or crack a window, so anything breakable needs to move first. Pull patio furniture, birdbaths, and potted plants out of range, and check overhead for low branches or power lines that could snag the machine as you maneuver it into place.
Next, clear the stump itself down to bare wood. Rocks, mulch, and old soil hiding against the trunk will dull grinder teeth in minutes, and a single buried rock can chip a tooth clean off. Use a shovel and digging bar to scrape away debris and expose any surface roots radiating out from the base. Cut back exposed roots with a chainsaw or root saw so the grinder wheel isn't fighting thick root flare on its first pass.
Every rock and root you clear by hand is one less tooth you'll replace later.
Lay tarps around the immediate work zone, especially near flower beds, pavers, or a septic cleanout cap. Chips travel farther than expected, and wet mulch stains concrete if it sits too long. If you're working near a fence line or a neighbor's property, string a barrier or at minimum give a heads-up, since grinding a tree stump near a shared boundary can send debris well past where you'd guess.
Finally, check your footing. Wet grass, loose soil, or a slope near the stump makes the grinder harder to control and increases kickback risk. Level your stance before you ever pull the starter cord, because the prep work here decides how smoothly the actual cutting goes.
Step 2. Cut the stump down to ground level
Before the grinder touches wood, take a chainsaw and cut the stump as close to ground level as you safely can. Most grinders work best when they're chewing through a low stump rather than fighting a tall trunk section, and every inch you remove with a saw is an inch the machine doesn't have to grind away tooth by tooth. Cutting the stump down first also speeds up the whole job, since a chainsaw clears bulk wood far faster than any grinder wheel.
Why cutting first saves the grinder
Grinder teeth cost real money to replace, and a machine forced to chew through 18 inches of standing trunk wears down faster than one working a 2-inch stub. Aim to leave no more than 2 to 4 inches of stump above grade before you switch tools. Watch your saw's bar length too. A stump wider than your bar means multiple angled cuts to get through the full diameter, so plan your cut pattern before you start the engine.
A shorter stump means fewer passes, fewer dulled teeth, and a shorter afternoon.
Cutting technique that keeps you safe
Cut from the outside edge inward, working in sections rather than trying to force the saw through the center in one pass. Keep the saw chain sharp; a dull chain binds in stump wood and kicks back harder than in standing timber. If the stump sits at an angle or on a slope, brace your footing before each cut and never saw directly toward your leading foot. Once the stump is trimmed to a low, flat profile, you're ready to bring in the grinder for stump removal and start working toward proper depth.
Step 3. Grind the stump to the right depth
Position the grinder wheel over the trimmed stump and lower it slowly until the teeth make first contact. Tree stump grinding works best in shallow passes, not one deep plunge, so ease the wheel down a couple inches at a time while sweeping side to side across the face of the stump. Rushing the depth is how teeth snap on buried rock or dense root wood you haven't seen yet.
How deep is deep enough
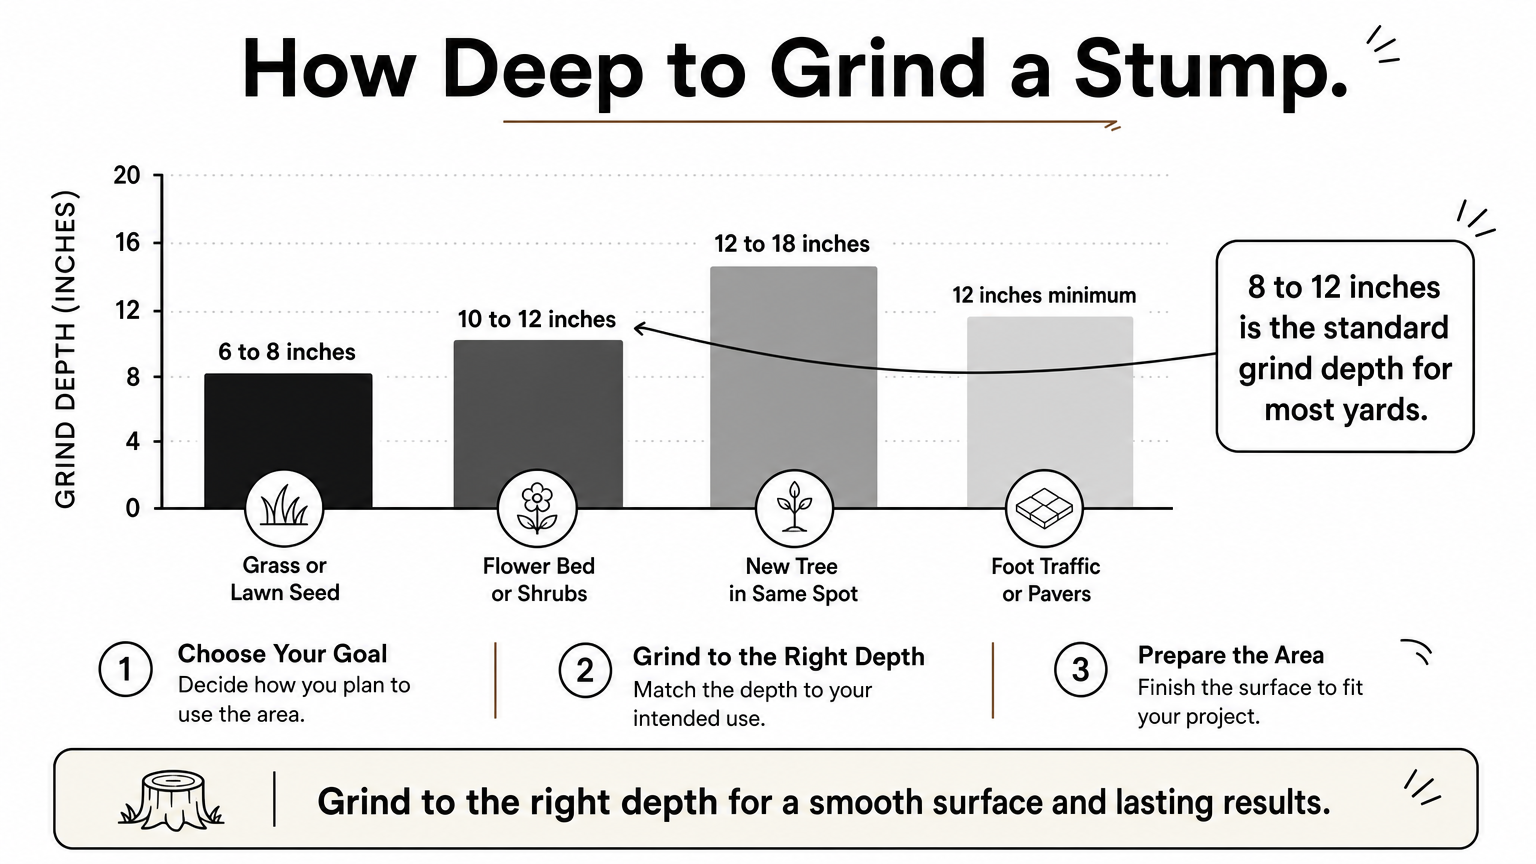
Most arborists grind to 8 to 12 inches below grade, deep enough to stop root sprouts and let you plant grass or a new tree without hitting old wood. Depth needs shift depending on what comes next for the spot:
| Planned use of the area | Recommended grind depth |
|---|---|
| Grass or lawn seed | 6 to 8 inches |
| Flower bed or shrubs | 10 to 12 inches |
| New tree in the same spot | 12 to 18 inches |
| Foot traffic or patio pavers | 12 inches minimum |
Grind shallow and the stump comes back. Grind to the right depth once and you never think about it again.
Working the wheel systematically
Move the grinder in a fan pattern, swinging left to right and advancing forward a few inches after each pass. Chase visible roots outward from the center as far as the machine can reach, since roots left near the surface still send up sprouts even after the main stump is gone. Keep an eye on the wheel's teeth throughout the job. Dull or missing teeth slow your progress fast and tell you it's time to swap the cutting wheel before finishing the stump removal work.
Step 4. Fill the hole and clean up
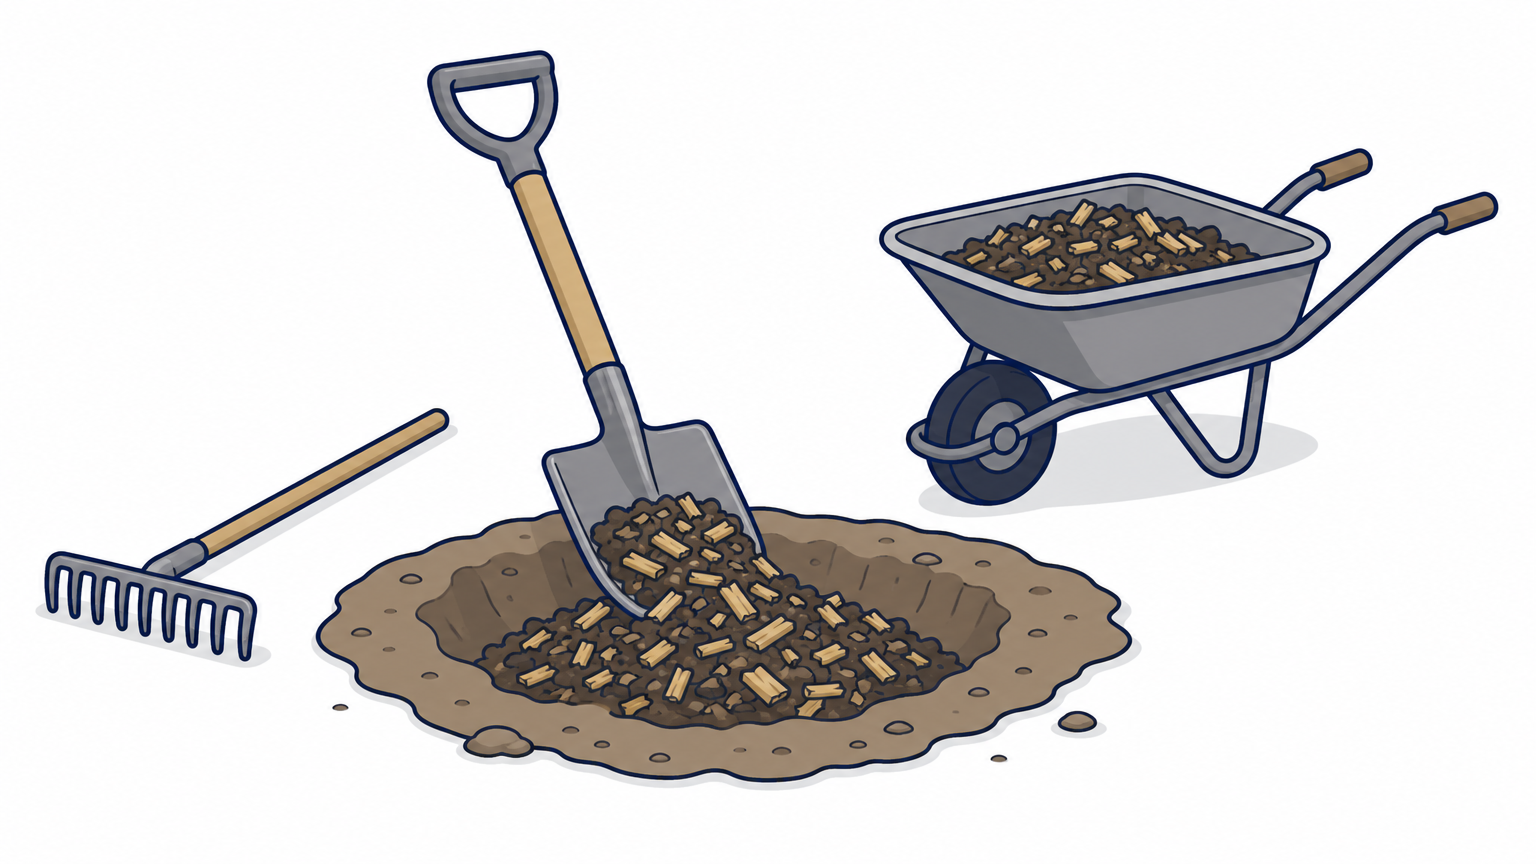
Once you've reached proper depth, you're left with a crater of loose wood chips and grindings that needs filling before the yard looks finished. Mix the leftover chips with topsoil at roughly a 50/50 ratio, since pure wood chips decompose and sink over the following months, leaving a dip that collects water. Filling the hole properly now saves you from a soggy, uneven patch of yard later.
Backfilling the hole correctly
Work in layers rather than dumping everything in at once. Pour a few inches of the chip-and-soil mix, tamp it down with your foot or the back of a shovel, then repeat until the hole sits level with the surrounding grade.
- Fill in 3 to 4 inch layers, compacting each one
- Mound the final layer slightly, since it will settle over time
- Water the area lightly to help everything pack together
- Recheck the spot after a week and add more mix if it's sunk
A hole filled in layers stays level. A hole filled all at once turns into a sinkhole by spring.
Clearing debris and hauling it away
After backfilling, rake the surrounding area to collect stray chips, bark, and small root pieces the grinder kicked loose. Bag or pile the extra material away from the fresh fill, since leftover debris smothers grass seed and attracts pests if left sitting against the house or fence line. Homeowners doing their own stump removal stump grinding work often underestimate how much debris ends up scattered ten or fifteen feet out, so budget real time for cleanup, not just grinding. If the pile is bigger than your truck bed can handle, our yard debris and fallen tree cleanup crew can haul it off in a single trip.
Restoring your yard after the stump is gone
Seed or sod the filled area once the ground has settled for a couple weeks, not immediately after backfilling. Grass roots need firm soil to take hold, and planting too early into loose fill leaves you with bare patches by summer. If you're putting in a new tree instead, wait a full season so the old wood has time to break down and stop competing with young roots for nitrogen.
Done right, grinding a stump turns a hazard into usable yard space within a few weeks, not months. But between utility calls, equipment rental, and hauling debris, a weekend project can eat your whole Saturday and Sunday fast, especially on a stump wider than 20 inches.
If that sounds like more than you want to take on, our certified arborist crew handles stump grinding and stump removal in North Port, Port Charlotte, and Venice, and we can usually get you scheduled within the week.